Time caught up to me in 2016, I found myself increasingly busy, but also unfortunately unmotivated to blog.
I had even created this draft about my Brazil trip! But never published it :/
But now I'm making up for it! Here is my São Paulo & Brazil trip :)
Between Cajamarca and Brazil I travelled with my parents in Lima and Cuzco, it was lovely! I'll write a blog on it when I find the time, but I'd like to write about our trip to Brazil first.
It was certainly an interesting process trying to get my visa, but I'll spare you the details. Basically, I learned that I've been very privileged as a US citizen not having to apply for a tourist visa prior to traveling until this trip.
And oddly enough, I've thought of traveling a lot of places. A LOT of places. But Brazil... was not on that list. It had never occurred to me.
BUT
Brazil was surprisingly brilliant. I enjoyed every minute of it. The people were exceedingly nice, the cities were diverse and beautiful, and the food was excellent. Pretty glad I have that Brazilian visa now.
We spent less than a week between São Paulo and Carguatatuba beach with our old family friend Carrie, plus an extended layover in the Brazilian side of the Foz do Iguaçu.
São Paulo is a beautiful city, very livable, with lots of parks and a beautiful downtown. Thank you to Carrie for being a wonderful tour guide!!

Ibirapuera Park - the Central Park of São Paulo

Ibirapuera Park - the Central Park of São Paulo

Selling Coconut water in Ibirapuera

Ibirapuera Park

Catedral da Se

Catedral da Se

Catedral da Se

Catedral da Se

Catedral da Se

Justice Palace

Capela do Menino Jesus e Santa Luzia

Mercado Municipal Paulistano

Mercado Municipal Paulistano - fruit stand

Mercado Municipal Paulistano - dried fruit

Mercado Municipal Paulistano - recycled Christmas trees

Near the Luz Station (Estação da Luz)

Mom & Dad in the Garden of Light Park (Parque Jardim da Luz)

Luz Station (Estação da Luz)
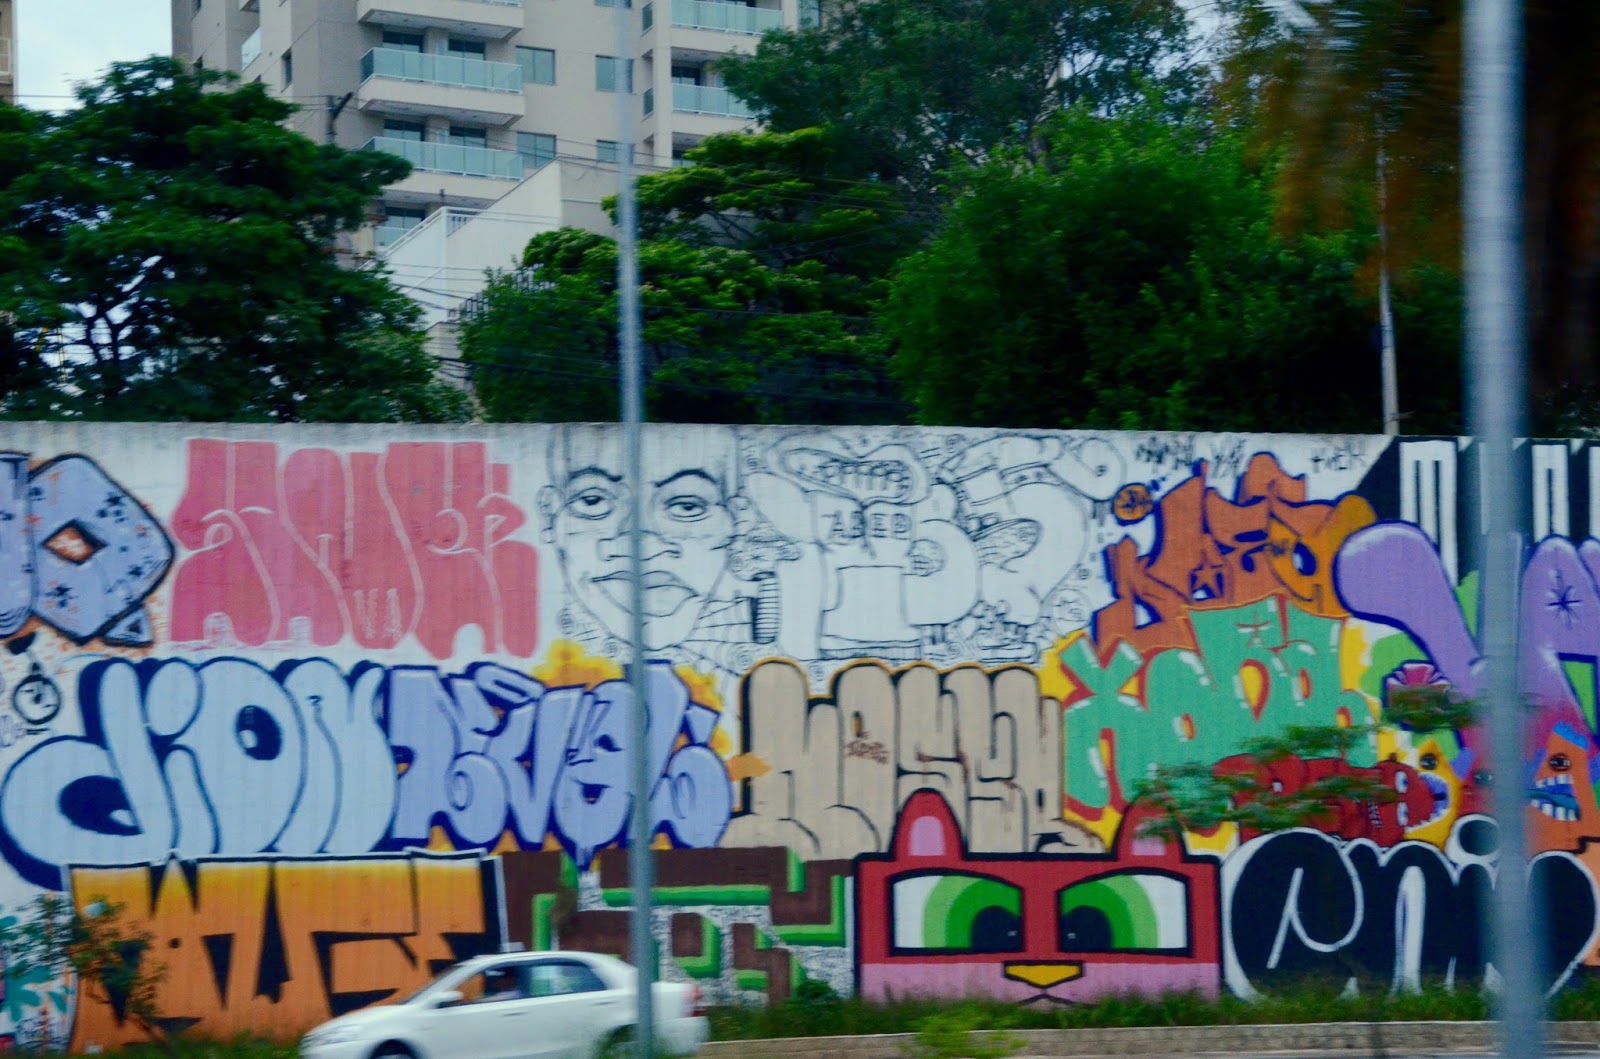
Beautiful street art.


Estação da Luz

The beautiful tiles and textures of São Paulo streets

The view from our hotel in Moema
We ate very well when we were there too. I didn't take nearly as many food pictures as I normally do, but here's a couple! I don't have a picture of it, but my favorite thing was a fish stew, moqueca de peixe. It's a thicky, garlicky, spicy, coconut fish stew. So good!!

Delicious corn pudding being sold on the street!

Italian sandwiches and beer in the Mercado Municipal Paulistano at Mortadela Brasil.
The street art was also amazing:


Then, we went to Caraguatatuba by bus. It was a long bus ride, mostly because everybody else was also going to Caraguatatuba. We were in the bus about 6 hours. But it was worth it! It was beautiful! I don't have many pictures because I didn't take out my camera much outside, but there was warm water, lots of people, and really amazing beach food (my favorite was Carrie's pineapple and mint juice, and pão de queijo, mmmmm)

The beach at Carguatatuba


We spent New Years there (so many fireworks!!), then went to Foz do Iguaçu - which was the best way to end the vacation!

Foz do Iguaçu - Brazilian side

Foz do Iguaçu - Brazilian side

Foz do Iguaçu - Brazilian side

Foz do Iguaçu - Brazilian side

Foz do Iguaçu - getting soaked for the plane ride home
There were a ton of animals, my favorite was the quatis - these little jungle raccoons that were everywhere, in the garbage, on the platforms, in the trees...

Foz do Iguaçu - butterfly

Foz do Iguaçu - butterfly

Foz do Iguaçu - quati

Foz do Iguaçu - garbage quati

Foz do Iguaçu - quati

Foz do Iguaçu - sleeping quati
That's it! This blog was a long time coming, but at least it's here! I had such a great time in Brazil, and I really need to use that visa to go back!


